In this article, we’ll look at how to create a multilingual site and other solutions for translating WordPress using WPML.
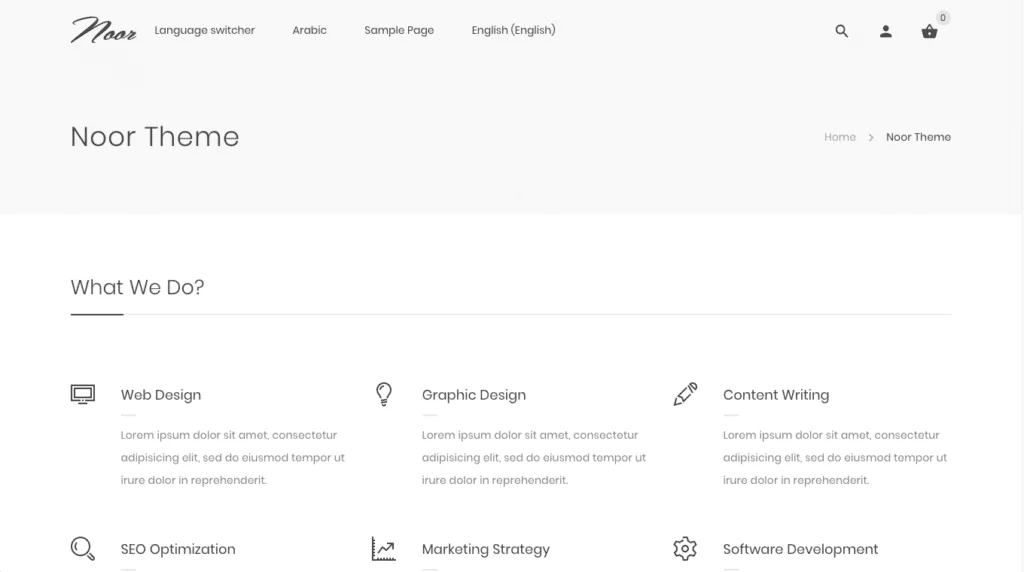
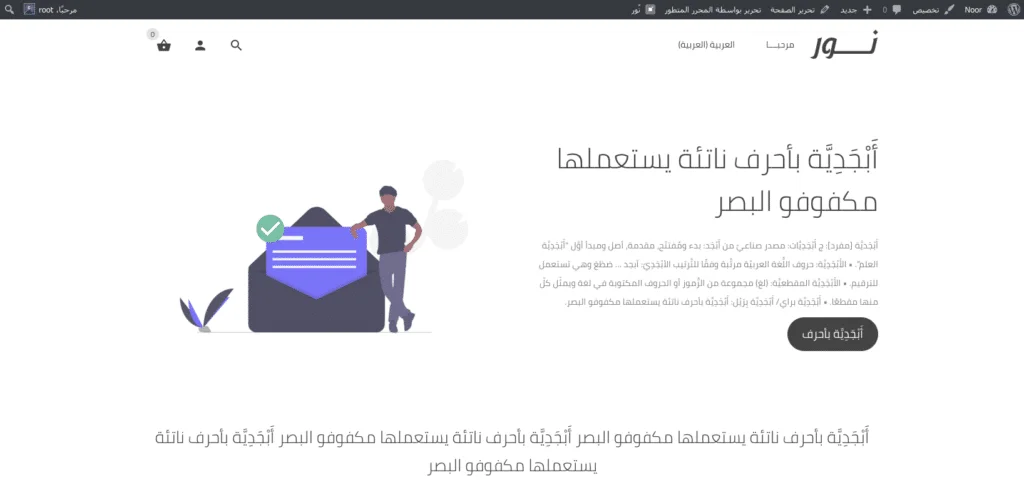
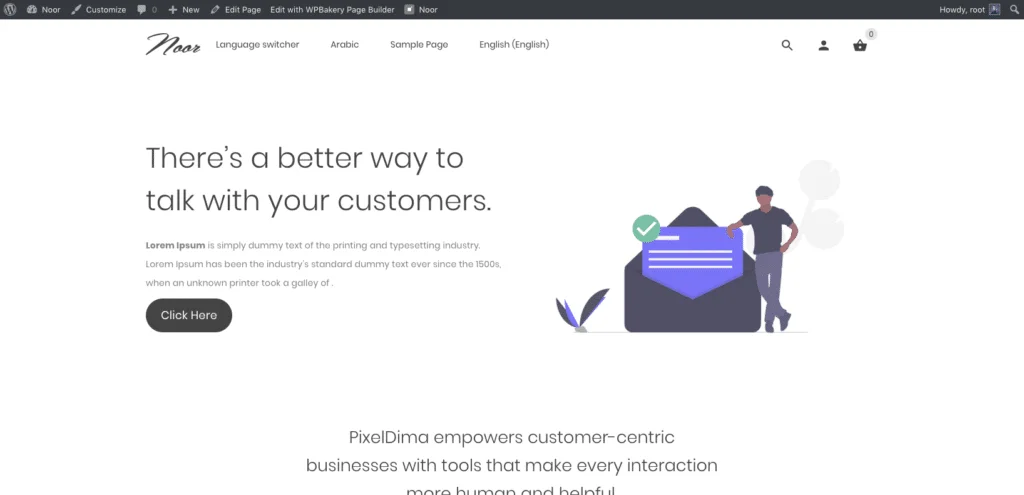
Before we start let see the result with Noor and WPML and Gutenberg and WPBakery Page Builder:
Getting started
Make sure that you have installed the core WPML plugin and any optional add-ons.
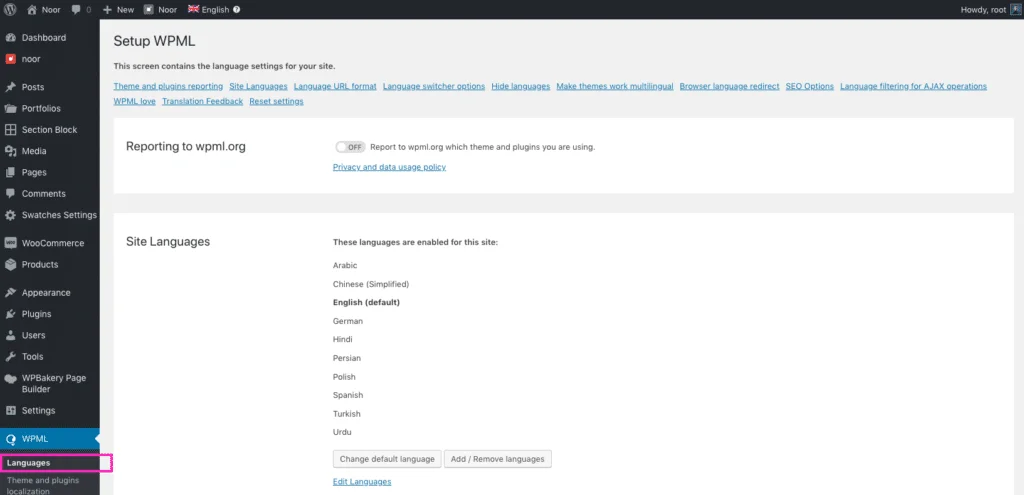
Go through the settings, setting up your site language, translation languages, menu switcher locations for the menu, footer, and widgets, links to the translation of posts, etc. Each of these settings can be edited later. Come back to this settings screen for even more settings.
Additional Required Plugins
To easily translate Okab and Noor, you’ll need two additional WPML add-ons.
- Translation Management – creates an interface so you can interact with translators and translation services.
- String Translation – translates strings such as tagline, widgets, etc.
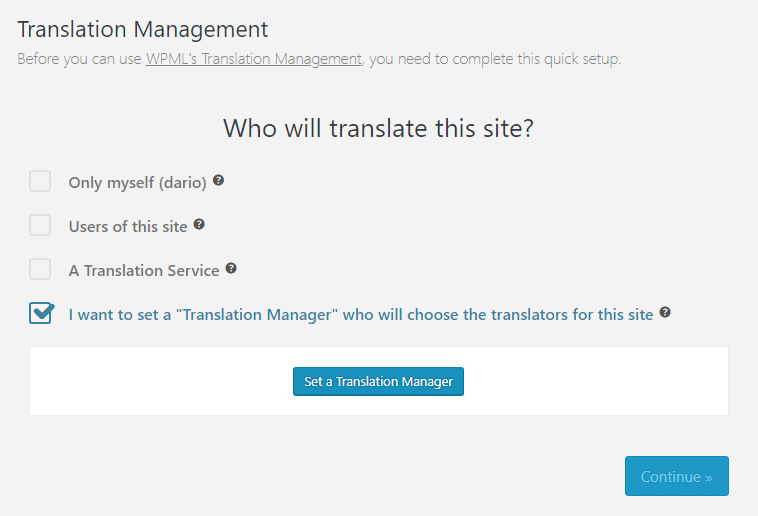
Setting up Translation Management
Go to WPML > Translation Management in the dashboard menu. Here, you’ll choose who will be the translation manager. This can be a new user, current user, or you.
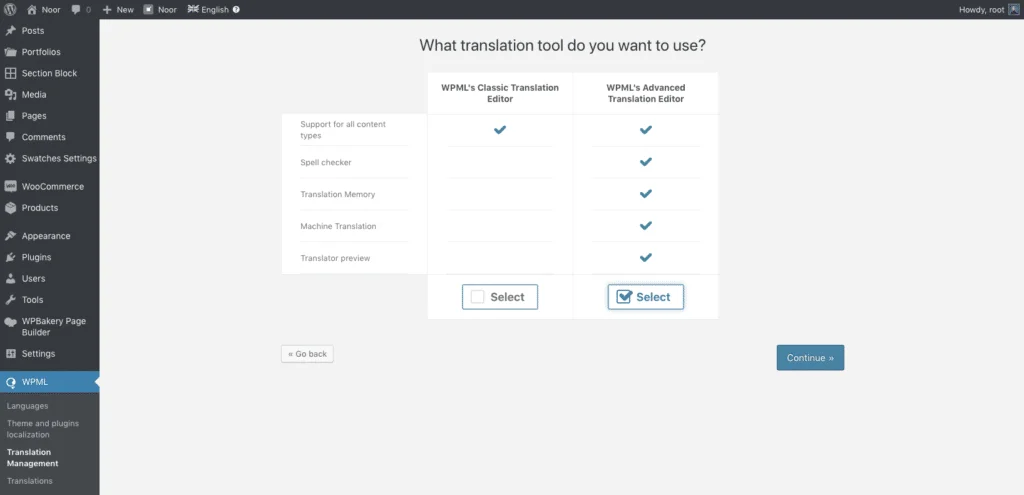
After that choose your translation editor. I recommend selecting the Advanced Translation Editor because it has automatic translation options.
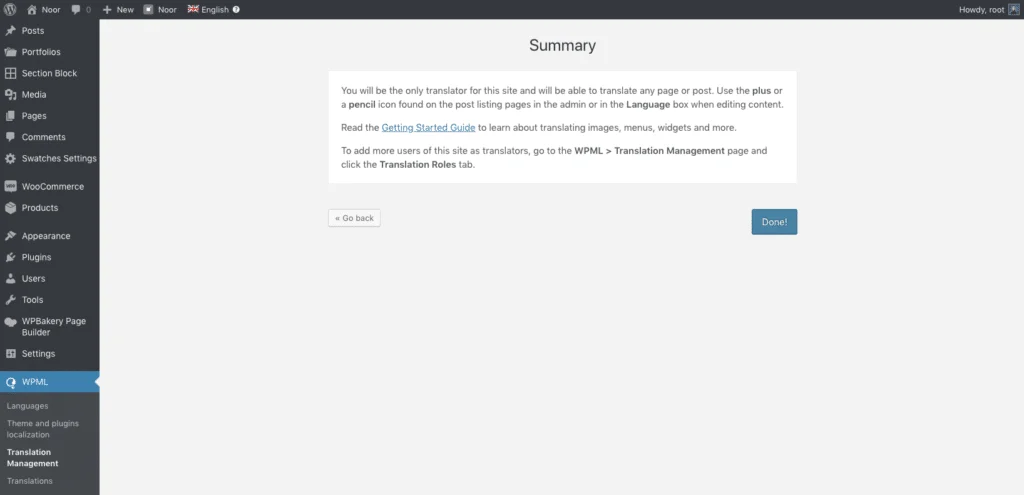
Review the summary and click Done.
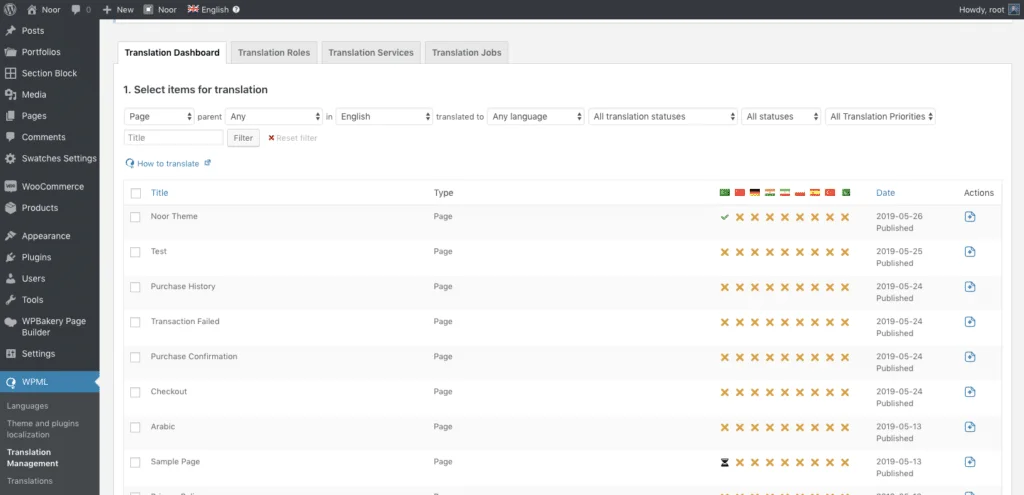
The Translation Management screen will now provide a list of items to translation. You can also adjust roles, services, and translation jobs using the tabs.
Translating Your Site and Its Content
Once you’ve configured the WPML plugin for your site, the important task of translating your content is next.
While WPML is able to configure your site so that it can easily display its content in different languages, you are responsible for adding that multilingual content to your website, or you can use Translation Services recommended by WPML from here https://wpml.org/translation-service/
Translating from the WordPress Editor
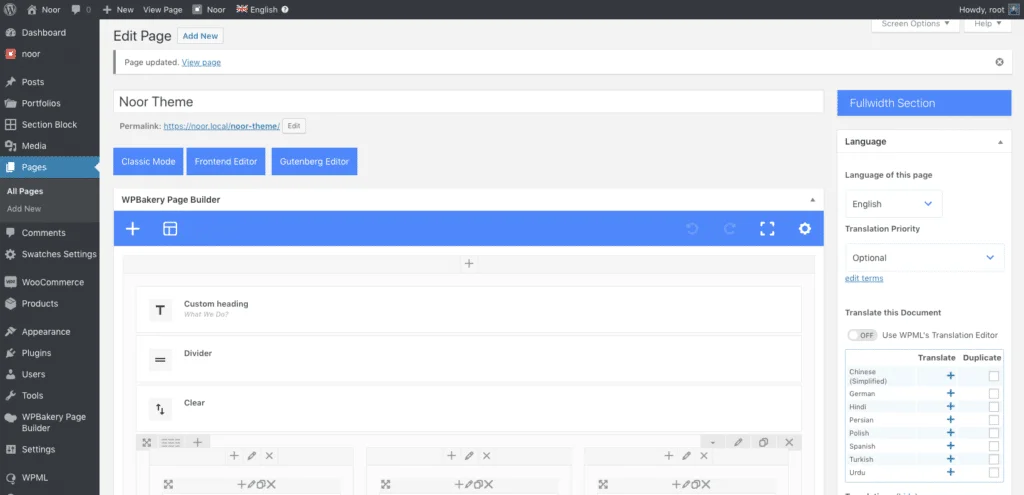
Okab and Noor themes support WPBakery Page Builder to simplify using our elements, and it works with the new editor of the WordPress Gutenberg, WPML support WPBakery and Gutenberg.
First, open your page/post you want to translate, you’ll see the translation options in the sidebar of the post editor. This is the Classic Editor. To translate the post, click the + next to the language you want to translate it into. It shows the languages you chose during setup. You can also duplicate the post from your original post if you want.
The Advanced Translation Editor
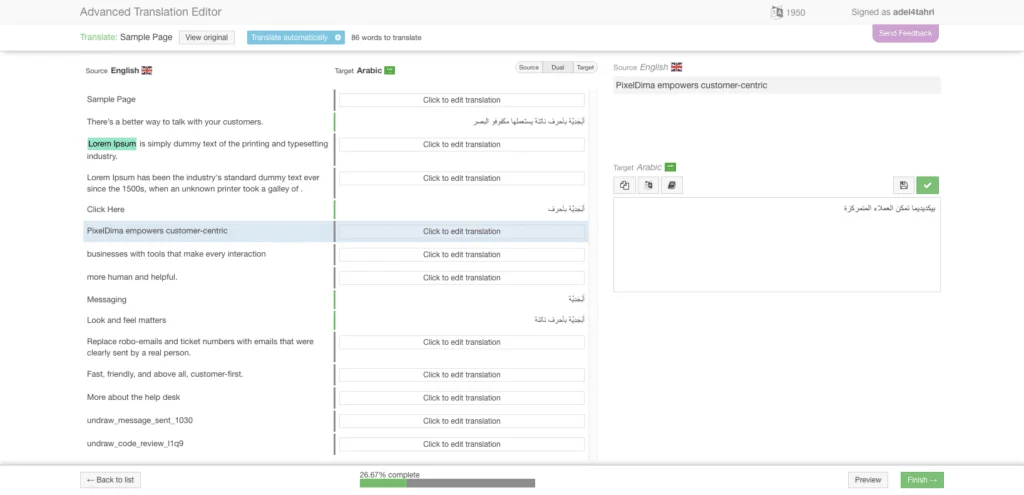
Selecting a language takes you away from your website to the Advanced Translation Editor. Click the light blue button close to the center of the header labeled Translate Automatically.
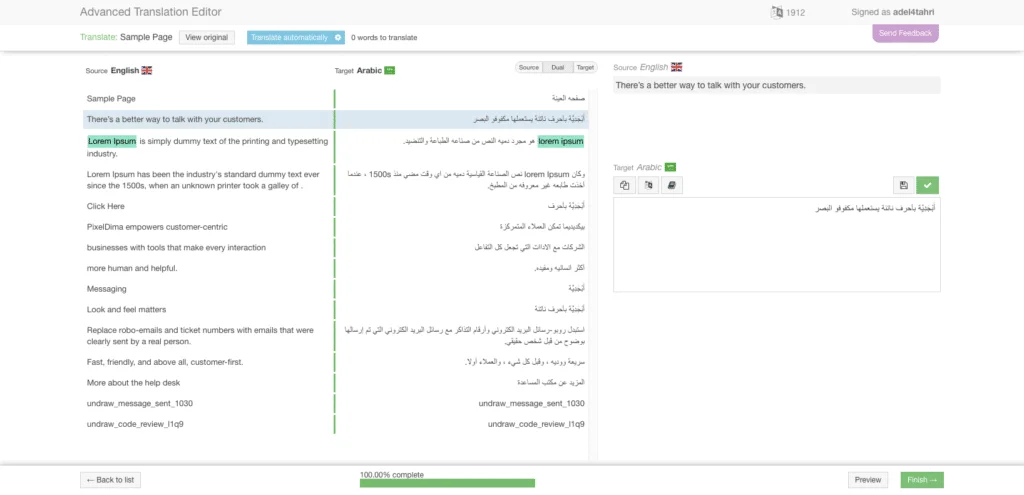
Once the translation is complete, you’ll see the translated text in the center field. The content is broken into sentences so you can see and edit them independently. Click on any text you want to edit and it will show in the editor in the right. Here, you can copy and paste in the original text, select to perform a machine translation, open a glossary, use spell-check save as draft, and save and complete.
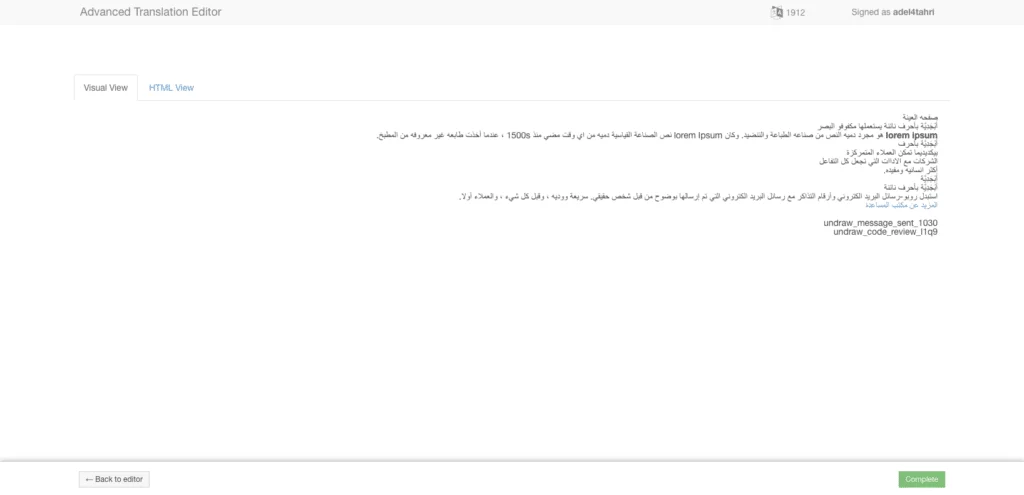
Next, it shows a preview of the text in a visual view and in HTML view.
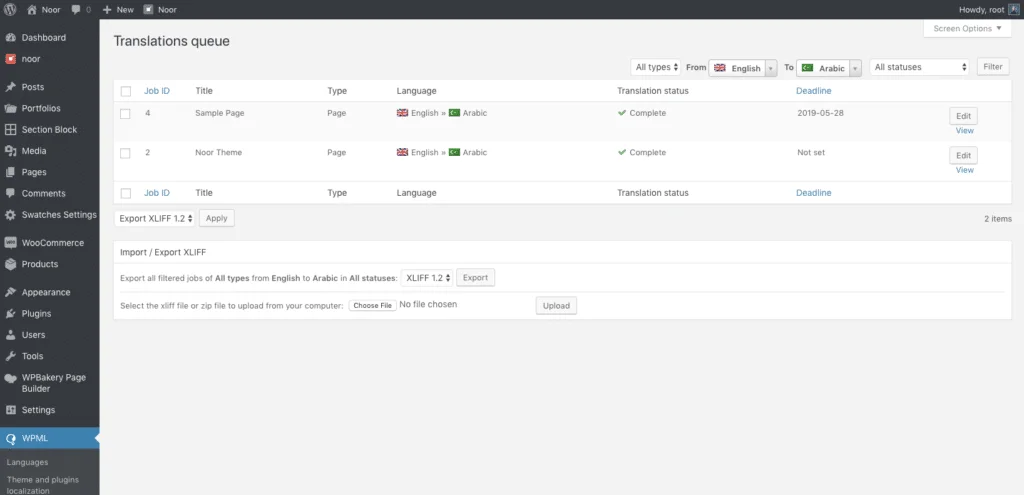
Clicking Complete in the bottom right will declare the work as done and take you back translations queue page.
Translating from the Translation Management Screen
Translation Management is a WPML add-on which allows working with a team of translators or translation services. Also, it allows you to translate content designed using the new WordPress Block Editor (Gutenberg project). you can read more here.
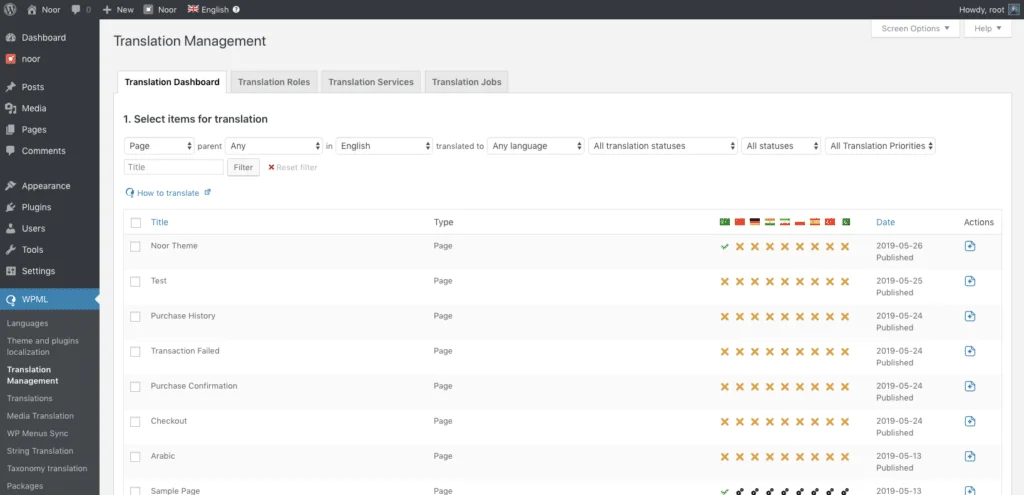
The Translation Dashboard shows a list of articles and translations. Select the article that you want to mark as ready to translate and scroll to the bottom of the list.
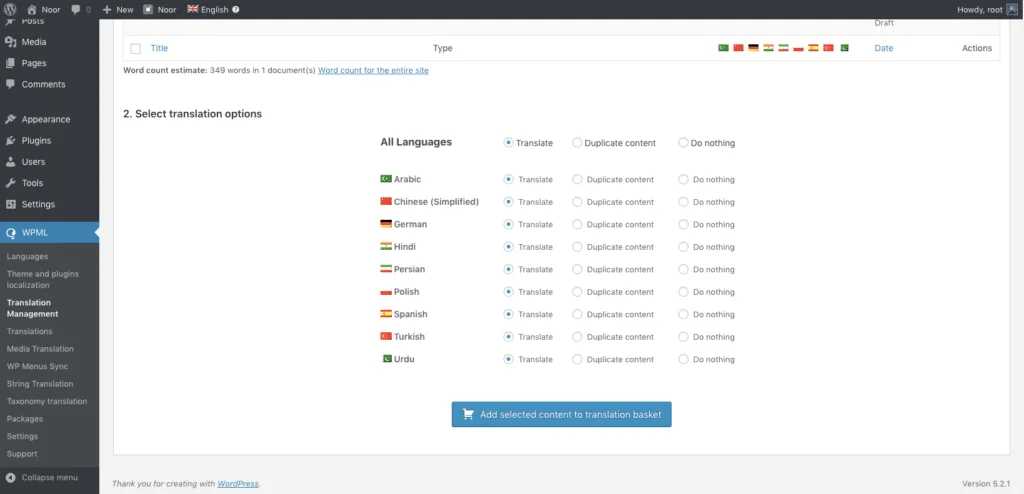
Select the languages you want the article translated into and click the button to add the selected articles to the translation basket.
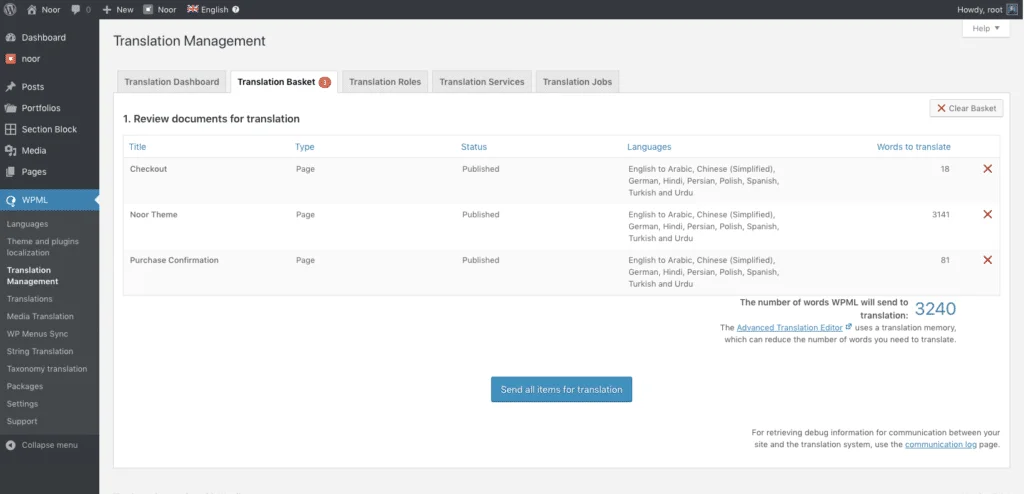
A new tab is added called Translation Basket. It shows the articles to be translated, the languages it’s to be translated into, how many words for each article. Now you can send all articles for translation by clicking on the blue button at the bottom.
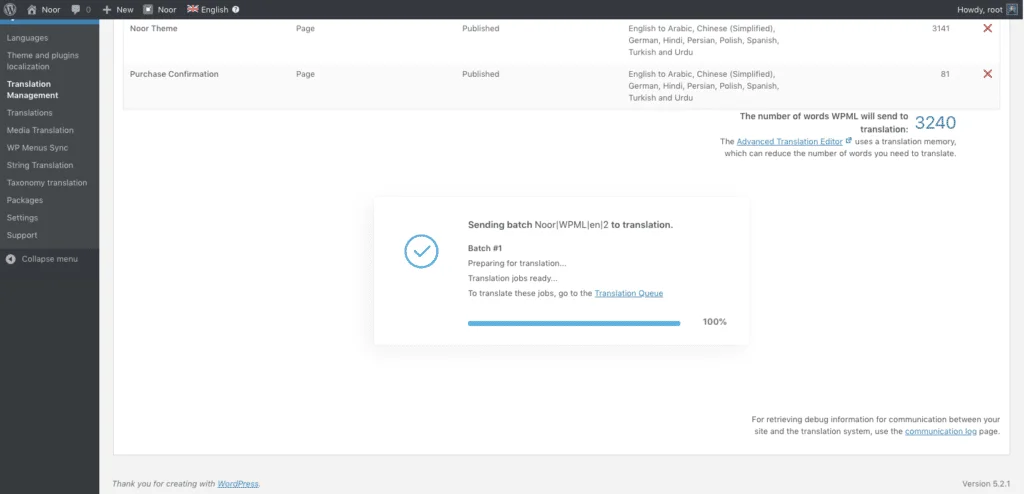
After you click the blue button WPML will preparing your content for translation when the progress get 100% you can now start translation jobs by clicking on Translation Queue link.
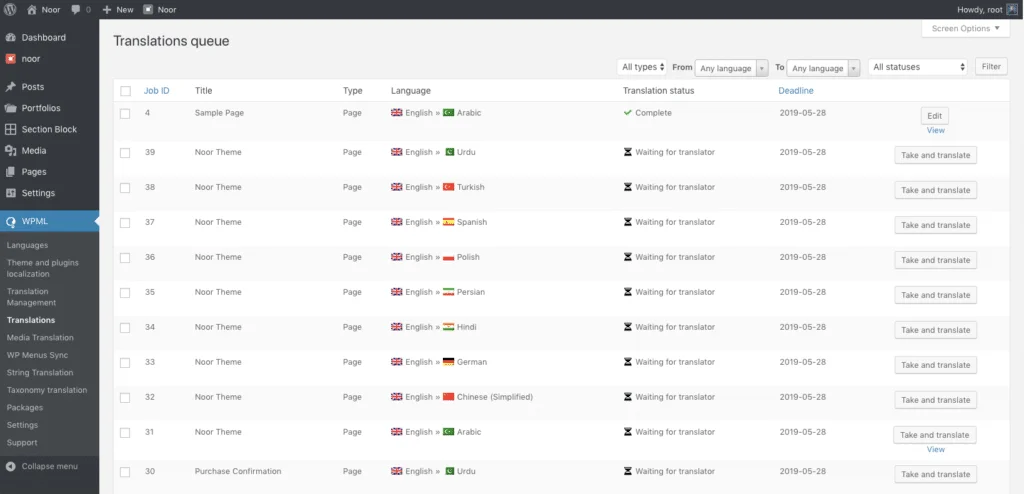
Now you or your translators will see a queue of jobs, all you need to do is click Take and Translate pending jobs and you will be taken to WPML’s Translation Editor. There, they view the originals and the translations, side-by-side.
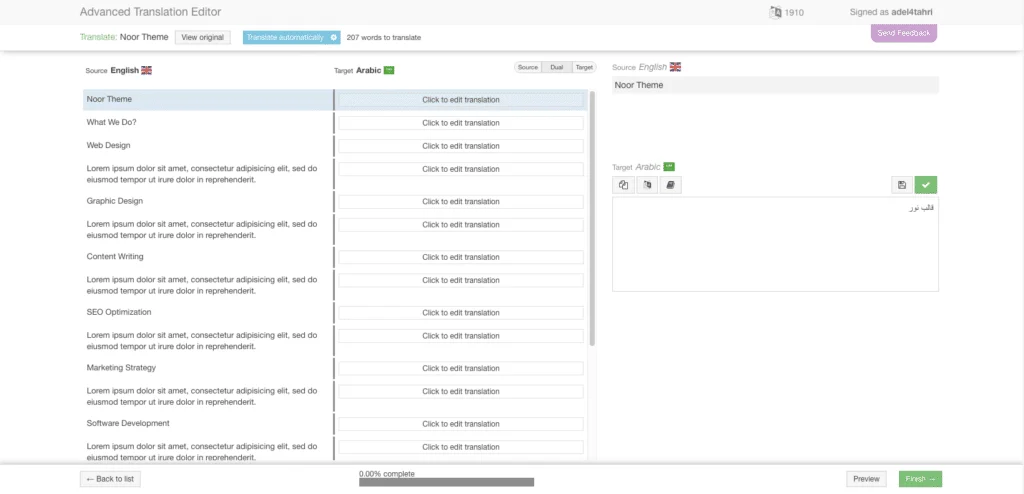
Set Different Theme Options:
Noor allows you to have a multi-lingual site, and you can set individual options for each different language you have installed. Each language has its own Customizer Options now so you can modify it for each language. To change Customizer options for each individual language, follow the steps below.
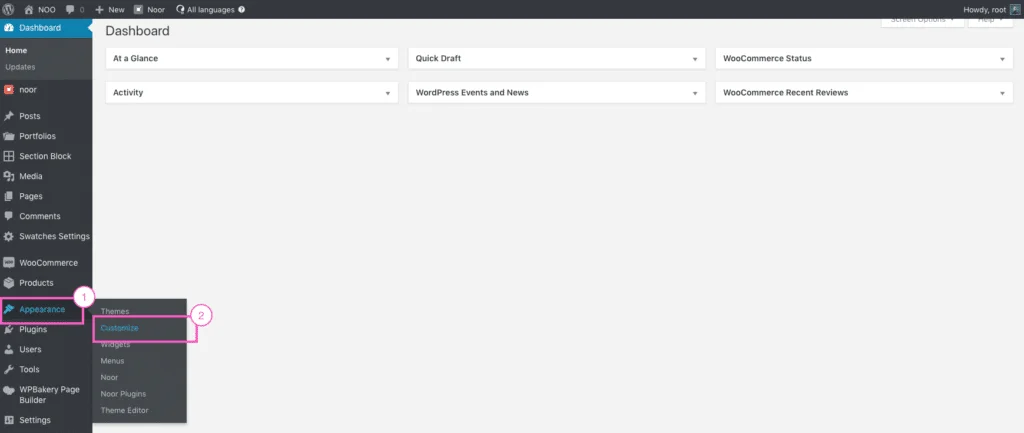
Step 1 – Log in to your WP Admin.
Step 2 – Open your Customizer.
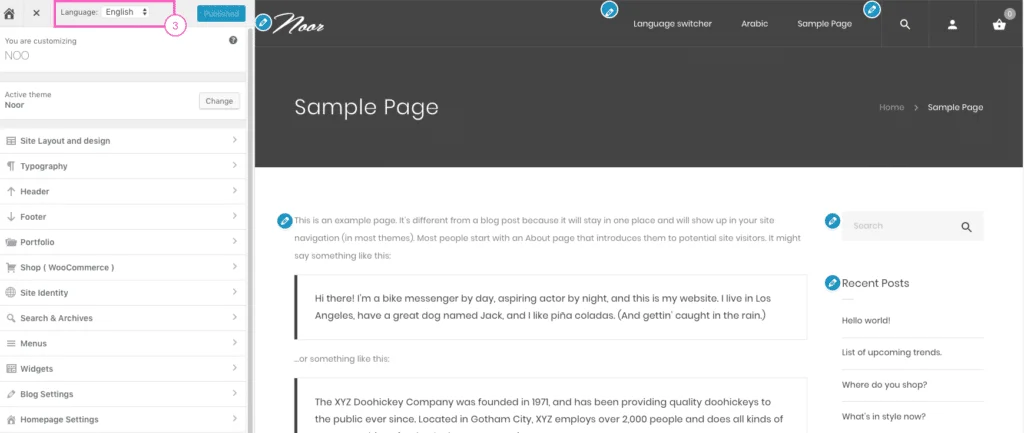
Step 3 – Switch to a different language using the Language Switcher in the top of the WP-Customizer panel and set your desired options for the language you’ve selected.
Change Theme Options For All Languages At Once
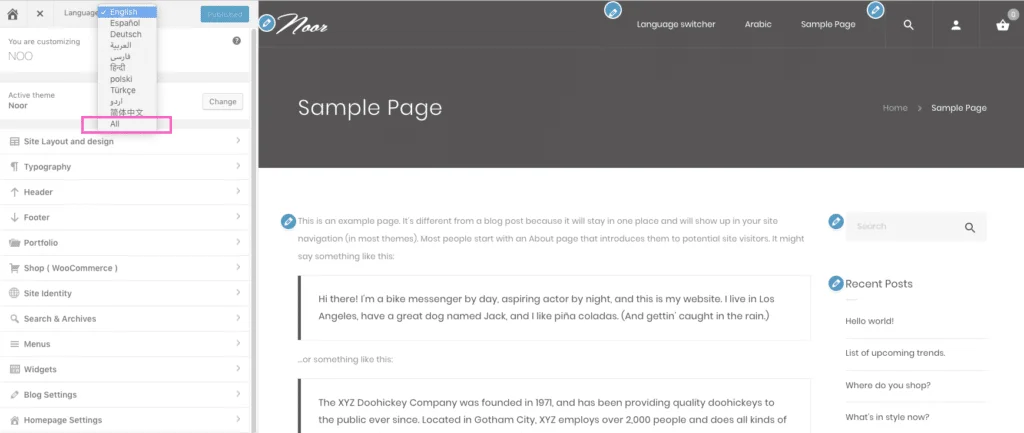
Step 1 – In the Language Switcher on the top WP Customizer panel, select All Languages from the dropdown.
Step 2 – Once you’ve selected All Languages from the dropdown, the theme customizer options for all the languages will be replaced by the default language you have set in WPML options. Once you make changes to any theme option, that change will be applied to all WPML languages.
Translating Menus
With WPML, you can easily synchronize your language menus. For more information, please check our page about translating menus.
Conclusion
WPML Plugin required some work if you want to create a multilingual WordPress website, but the benefit will be can be plentiful by getting a much larger audience, and your website will get better UX, trust, and credibility.
Do you have any questions about how to create a multilingual WordPress website? Ask away in the comments section below!

